Sunday, July 10

4 Ways To Use A Facial Oil

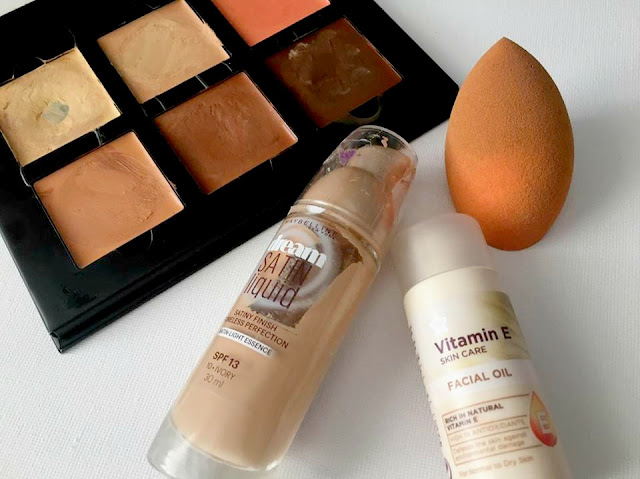
While having dry and dehydrated skin I thought I would finally get round to buying a facial oil, not only do these provide moisture to the skin but also your favourite products! I have 4 ways in which you can use your facial oil to make life a bit easier!


1. General facial hydration - The first way is the sole purpose of the oil; to moisturise and hydrate the skin. I use a moisturiser but felt like it wasn't enough hence my reasoning behind buying an oil. 


2. Add it to any dry creams - For me theres nothing worse than trying to conceal, highlight or contour with a cream that drags across your skin. Add a bit of oil to it and it transforms it! On the swatches below the left shade has oil mixed to it whereas the right does not.. can you tell how drying that is?!


3. Use it with a beauty sponge - When you've got your cream highlight and contour all drawn out add some oil straight to your wet sponge and everything will literally melt into the skin and blend so dreamily together. 


4. Add it to foundation - This foundation really shows my dry patches and drags across the skin ever so slightly but when mixed with a facial oil it looks so much more glowy and healthier. It also works even better with a beauty sponge too! 


Paige, x

SHARE:

Friday, April 10

How I contour!

Contour and highlighting is probably the biggest thing around right now, make-up wise. The thing I love most about this "in thing" is that everybody's trying it but with so many different products, hence why I thought I would show you my tips and tricks of how I do it. 

I use a variety of different products, sometimes all together or just one on its own and it creates a new and different look each time. With contouring you can have a dewy, glowy finish or a matte one and personally I prefer glowy as I have super dry skin. No matter what look I do go for the brushes never change, I find that the Expert Face brush by Real Techniques works with every product, whether it be cream or powder. The flat sides of the brush works really well to sculpt the cheek bones and then to buff everything in. Usually I use the MAC 249 to 'draw' the lines using cream products, just to get some precision and then I use either the Real Techniques brush or a beauty blender to work everything into the skin. 

Products wise, I really cant find a better matte bronzing powder than the MUA one. For only £1 you get a hell of a lot of product and its really pigmented. The colour is just right too, not being overly orangey or muddy looking but suiting my skin tone perfectly. These little bronzers last me so long and take ages to hit pan! In my Urban Decay Naked Flushed palette the bronzer is exactly the same as this, so your essentially saving yourself £20 if you were to purchase the MUA one. 

If I want a dewy finish to my skin I will use the Bourjois Bronzing Primer- which is to be used under foundation however I feel like this really isn't what the product should be designed for but is better suited as a cream bronzer/ contouring cream. Like I said I use the MAC brush to draw on my cheek bones, around my temples, forehead and sometimes down the sides of my nose to give that instant nose job effect! I buff it in and then will apply a tiny amount of the MUA powder just to set it all in place. 

The Beauty Blender is a new purchase of mine, I initially bought two, one for the concealer and one for the bronzing. I got mine from eBay and Home Bargains for only £1 each and they do they're job perfectly.. talk about budget beauty! I like how they have the pointed side for the concealer, in which I use the KIKO concealer wheel as its just the perfect shade and the flat side for all over the flat bits of the face. 

As for highlighting keep your eyes peeled because that's on my blog Monday!


Paige, x

SHARE:

Sunday, March 29

How I get silky smooth legs!

I wasn't too sure whether I should post this or not but every girl wants smooth legs and if I can share a few tips and tricks then who wouldn't want to read this post?

These are my holy grail products for the nicest legs ever believe me! With this combination you'll have smooth glowy legs that you wont worry at all about getting them out when it turns to Summer. 

Elle Macpherson, fresh & smooth body scrub: This is again another product which does exactly what it says, it removes all dead skin and preps your legs ready to be shaved. This is the best scrub I've ever used and I use it all over my body; its not harsh on the skin but works extremely well. Colour is another thing I love about this; its not brown like the usual body scrub but a gorgeous silvery white colour. It doesn't smell of anything either which in my eyes is perfectly fine. 


Gillette razor: This is just a cheapish one but the thing I love most about using this is that the head is infused in baby oil, giving that smooth glide over your skin, also giving a touch of moisture.


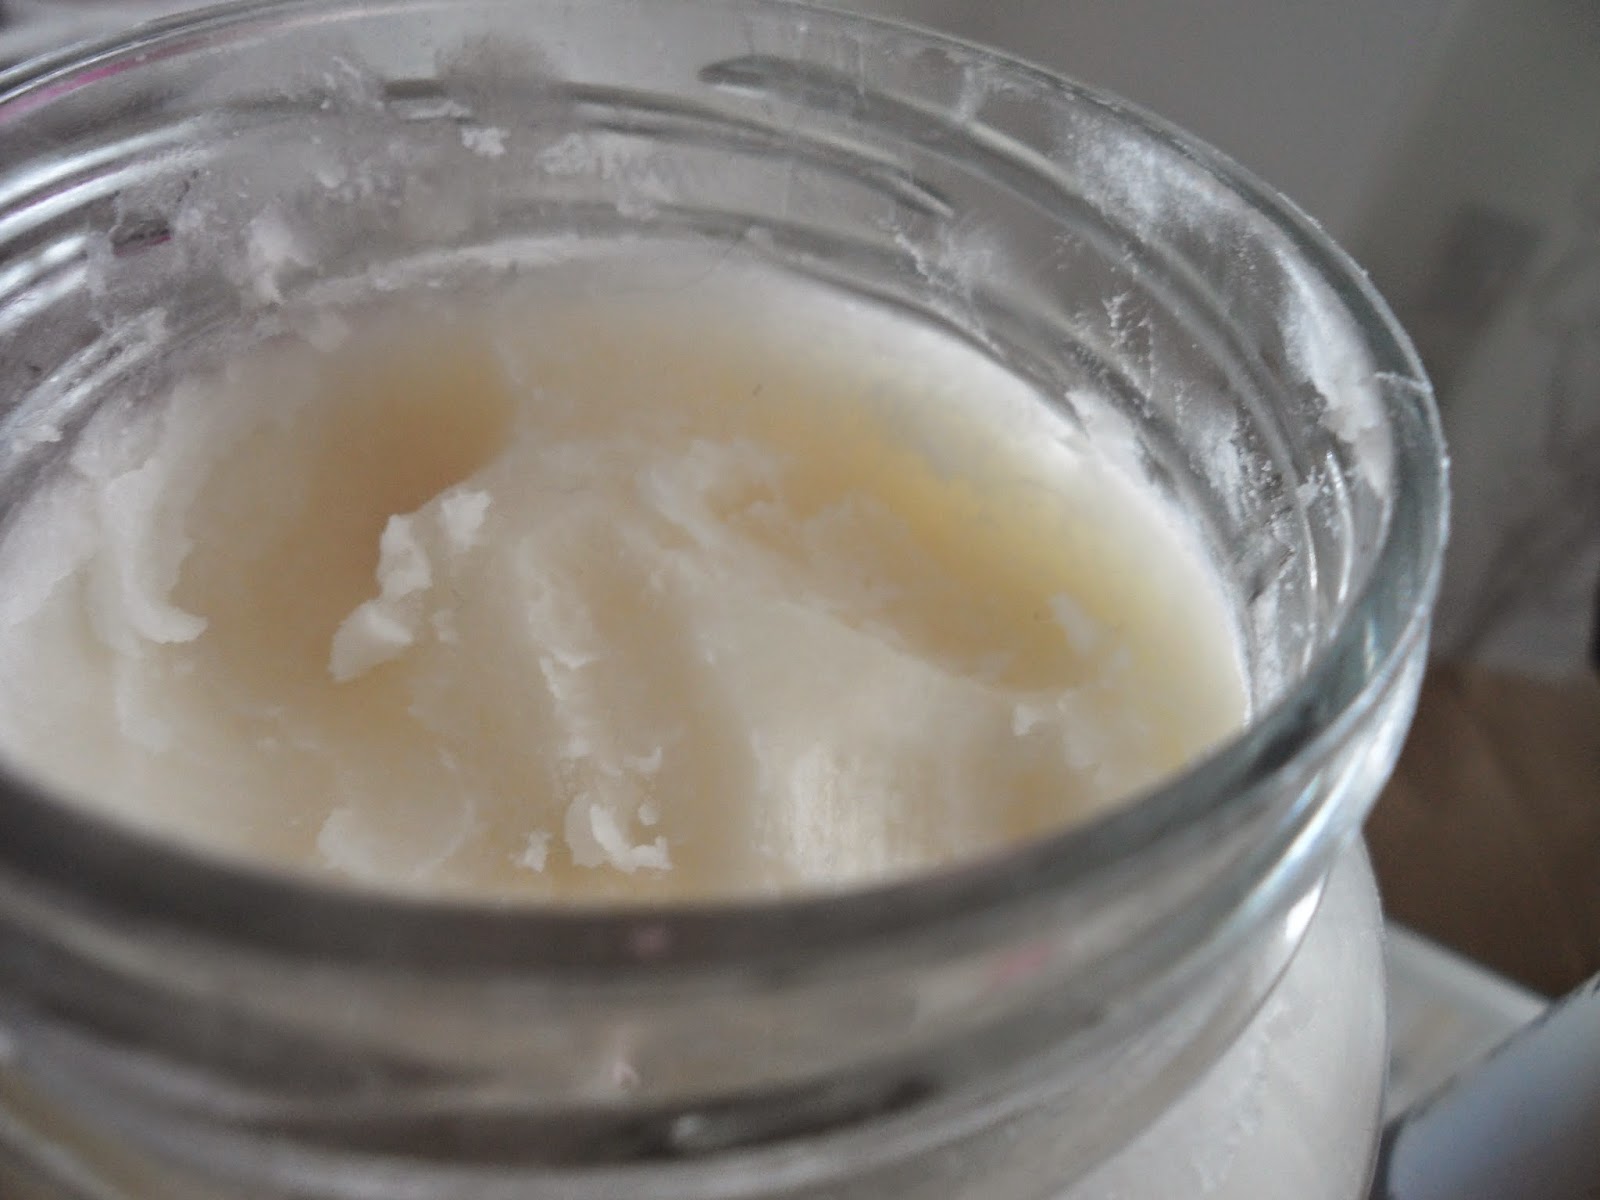
Pure coconut oil: If you have never used coconut oil what are you doing?? This can be used for almost everything.. and I mean everything. Give this a Google and you'll find amazing solutions to the problems you've been trying to fight. This whitens teeth, is good for your skin, hair and you can even eat it. If your getting some coconut oil make sure its pure or it wont do half as many amazing things and you can pick this up for really cheap online! This was around £4 and I've had it for months! Its a hard waxy consistency however when it contacts your skin it turns into a gorgeous oil. I rub this all over my legs after shaving as it acts better than a moisturiser. 

Paige, x
SHARE:

Saturday, March 28

Where I store my makeup brushes.. HELP!

 For this post I've cleared my background and minimilised my makeup brushes for you all to see it clearly. 

This is how I store and keep my makeup brushes.. a candle holder! I'm aware that this isn't the prettiest thing and I am looking for a better alternative but I only want something that I'm sure about, as serious as that sounds! I like my friend Sarah's idea of a pretty glass jar but I can never seem to find one, you can check out her blog here where she posts about every from beauty and fashion to lifestyle and she too has an instagram for her blog!

The brushes here are from MAC and the eyelash curler, which I never use is a trusty little one from Primark. If anyone spots a nice jar or makeup brush holder then do let me know! My ideal brush holder is them lovely little white plant pots from Ikea, seen here but unfortunately they cant be delivered and I don't live anywhere near the store. 


Paige, x
SHARE:

Saturday, March 21

How I store my lipsticks

I'm so into makeup storage and organisation (as you can see my Muji draws in every post!) and my lipsticks were taking up too much space in my acrylic draws. I've been searching for a lipstick holder for a while but I wasn't prepared to pay the silly prices people were asking for. I then found this. 

Another eBay beauty bargain!

This little acrylic lipstick holder has 24 spaces for you to put all your lip products in, more than enough room. I don't even have close to 24 lipsticks as you can see below but this gives me the room to expand my collection. I have my eye on some MAC lipsticks and they will look extra pretty with two I already own. 

This beauty was only £2.57 from the link here - an easy way to not only see your makeup clearly but to organise it and to then decide what else you want of course! 


Paige, x
SHARE:

Sunday, March 1

Beauty haul!

Oops! It seems I've collected quite a few beauty products in the past few weeks so I thought what would be better than bringing them all together in a haul on a Sunday?!

I've been good recently and not splurged on much and I thought why not and started my online shopping basket..


First things first, MAC! 

I really wanted to try a few different things and make my makeup collection grow, so instead of opting for eyeshadows and foundations like I usually do I picked up some general face products.

I bought these two absolutely gorgeous blushes in the shades Breezy and Springsheen(L-R). Breezy is a plum colour and nothing like I have in my collection, on the other hand Springsheen is a very sheer peachy tone; a little goes a long way as it's seriously so pigmented!


 I also couldnt resist a mineralise skin finish and which other colour than soft and gentle? It's even more beautiful in person and like no highlighter I've ever seen. Like the blush a little goes a long way but you can apply more to give a more dramatic night look! 

This lipstick was a spur of the moment decison and you can probably all guess what it is.. that's right velvet teddy! I really didn't think I would suit this when it first came but its surprising really wearable, sometimes I dab a little pink over just to make it more suitable for my skin colour but I'm in love!!


Finally the last MAC product I picked up was in fact the strobe cream! I felt my skin and foundation routine needed a little pick-me-up so I thought I would give this a try! 

NARS is a brand I've never tried before so I thought instead of buying a Benefit box blusher like I usually do I would opt for something a little different. This is in the shade orgasm and its such a pretty colour with shimmer running through! It is smaller than I thought it would be but never the less go and try something from NARS if you haven't already.


Finally some random beauty bits! I picked up this beauty blender for just 99p from Home Bargains just to see how I got on with it as I really dont want to spend the Real Techniques prices and I love it! It makes cream contour and highlight look so flawless I really reccomend! 

False eyelashes are something I never wear but I wanted to try some Red Cherry ones so I picked these up from eBay for around £1.50! And then I repurchased just a travel size of my favourite eye primer; the Urban Decay primer potion!


Thank you for reading!

Paige, x
SHARE:
© Paige Allan. All rights reserved.
Blogger Templates by pipdig